Ī@Ī@Ī@Ī@Ī@Projects
-> 4th Anniversary CakeĪ@Ī@Ī@Ī@Ī@Ī@Ī@~~Last UpdatedĪG2004.11.5.
Ī@Ī@Ī@Ī@Ī@Projects
-> 4th Anniversary CakeĪ@Ī@Ī@Ī@Ī@Ī@Ī@~~Last UpdatedĪG2004.11.5.Ī@Ī@Ī@Ī@Ī@Projects
-> 4th Anniversary CakeĪ@Ī@Ī@Ī@Ī@Ī@Ī@~~Last UpdatedĪG2004.11.5.
Wendy started learning cake decorating in April, 2004.
Here are some projects that I designed and finished...
Ī@
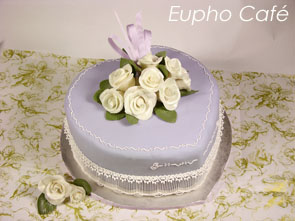
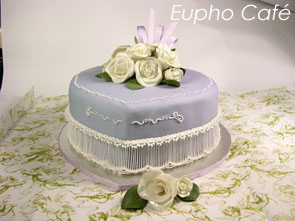
![]() 4th Anniversary CakeĪG
4th Anniversary CakeĪG
|
|
 |
|
|
|
 |
 |
 |
 |
|
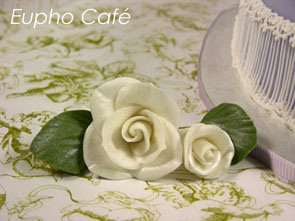
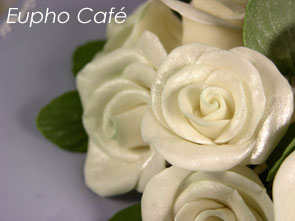
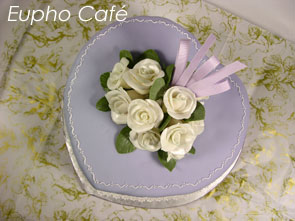
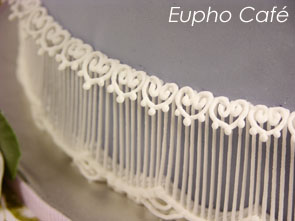
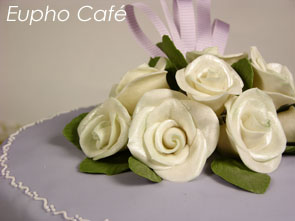
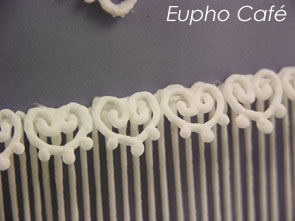
DateĪG2004.11.2. BodyĪGtwo-layer sponge cakeĪ]10", cut into heat shapeĪ^ DecoratingĪGgum paste (roses and leaves), fondant, royal icing, color paste, purple ribbons. ToolsĪGturn table, tips, piping bags, wax paper. BaseĪGcard board, grease-proof wrapping paper, purple ribbon. Ī@ Our anniversary is actually 10/31 (It's my hubby's birthday. We celebrate it with our anniversary because it's close to the wedding day.), but I could only finish it two days later. Though I didn't catch up the date, it's still great to see the final work of our anniversary cake! I designed the lace pattern one month ahead, and piped about 100 or more laces and let them dry for two days. For these laces are very fraigle, I got to make a lot more than required just in case of broken ones while assembling. This cake uses about 68 laces in total. Spent two afternoons for make roses. In order to make them look like real roses, I bought a rose home and study how the petals grow and turn. For the first batch of roses I made, though they are not very satisfying, I did learn a lot from it. It came out pretty good for the second I did, and I picked most of them to finish the final cake. You may tell the difference from the two pictures above between the two kinds of roses. I planned to make white roses. Since I have the impression that real white roses usually come with some light green color on the edge, so I also dust the petals with a little green color. Then, I used luster dust to create some romantic taste of the roses. Cake board was cut from a big box, wrapped with grease-proof paper, and then glued the side with purple ribbon. Assembled the cake layers, frosted the cake with butter cream icing, covered with fondant, and then trimed the edge. I piped some small shells with royal icing on the bottom, then piped the waves and the string work. (It takes a lot of time and patience.) At last, used royal icing to attach the laces one by one. To finish the cake, just arrange the roses and leaves, attach with ribbons and place on top of the cake. This is my first time doing string work and the laces. The cake looks amazing with those elegant laces, and I love it very much! Although it's not perfect, I really enjoy doing it. Hope next time I could make it better.~~^^ |
|
![]()